Colour palette alteration

May 12, 2017

After researching even further into mid century modern colours of project 4/ wallpaper project I decided that actually these colours could work for my project 3. Initially the colours were inspired by the classic colours of pink and green- using olives, teals and peaches to try to represent the contrast between nature and urban space - inspired by the Batsford Prize competition- Interpreting Nature.


After the incident with the colour bleed yesterday, I noticed that my samples were quite dull and washed out- this was a combination of washing them a lot but also because I only did 2 pulls and also maybe the colour just wasn't strong enough when I mixed it. I feel that the greens worked well together but the peach/pink was just too pale and you couldn't really see it after a couple of washes. 

I used the polychromatic technique and applied a darker wash of rust brown and chocolate brown (originally this was the recipe for the pale peach- just a much smaller ratio). After testing this I found the perfect rust terracotta that paired perfectly with a new colour to my palette: an inky blue. I used an inky blue in my final wallpaper designs and my blind competition and think this worked well and connected with the mid century modern influence. This was also inspired by blue print, this was after Nick and I looked at my initial wallpaper repeats which were completed in the print room, where I had a textural secondary print from a slightly blocked screen. Using this inky blue has stopped me from using black too much whilst still keeping a dark tone and balance in my colours.


Disaster day edition #2

May 11, 2017

Completing wallpaper> wanted to get it sent to large format quickly before the wait time was too long- I wanted to potentially get these printed in lengths- or do I wait until degree show so ic an make alterations if they need it

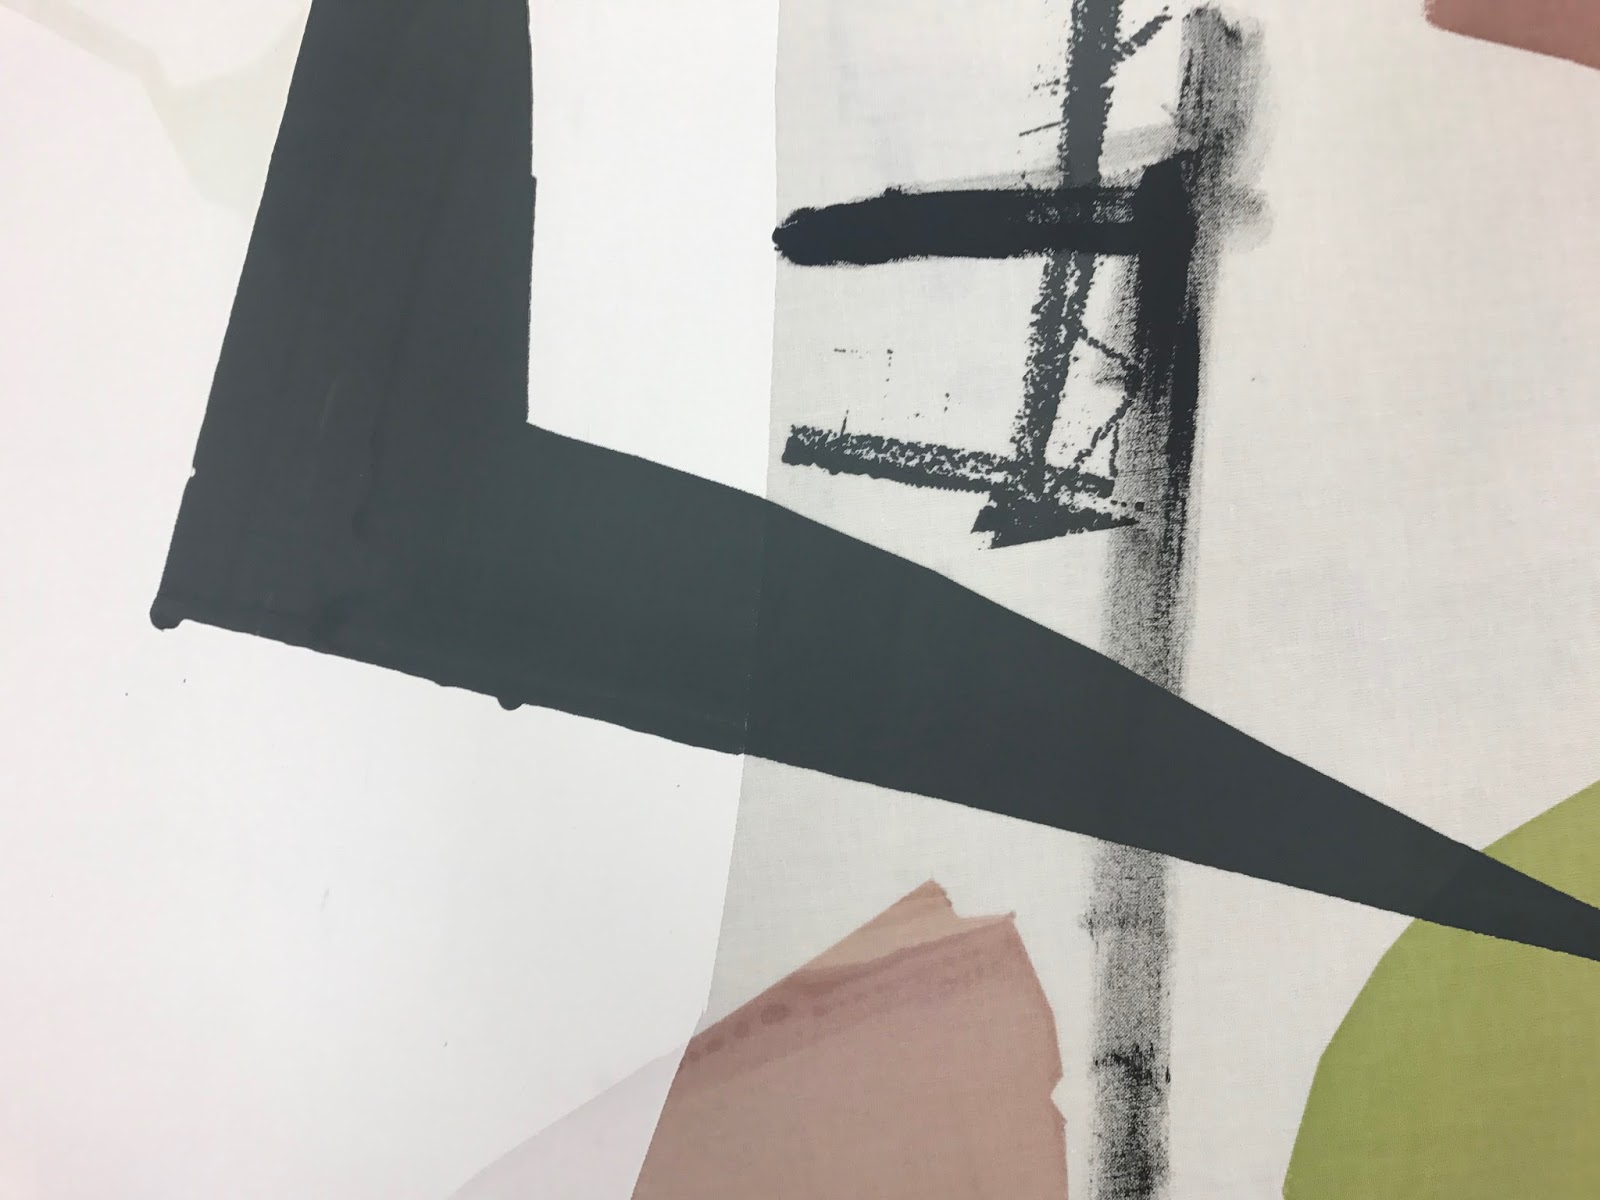
My designs have changed and developed, now focusing more on scribbles and markings, made into forms in some areas?I really like the looseness of these.

After looking at my blue print style secondary print on a screen print onto a length of lining paper- this has inspired me to use a n inky blue after looking at mid century modern colours

Tried mid century modern colours, using the deep blue and flamingo pink??
Using limited colours with tonal variation to create a strong collection.

Completing the blind competition has enabled me talk about my work, telling a story and creating a narrative!

Washed my two samples from the other day- unfortunately they bottle green/blue bled and made my prints blue. I washed these a couple of times more on a cold machine wash but this made them worse!!

I’m really upset about this as this was probably my fault when hand washing- i must take more care next time. I have to seethes as a positive, it might bring other opportunities and has made me resale I’m just thoroughly wash out my fabrics.

Previously thought about using discharge and maybe try to mask off shapes to create a bold coloured background> this might be a good way to cover up the blue tint left on the prints that went wrong????

I have booked in next week for printing now> i’m glad I left myself enough time for mistakes to happen. I originally left all of next week for context boards and finalising so now printing for the first 3 days- hopefully will get my designs finished to a standard that I am pleased with.


Completing/ finalising wallpaper

May 10, 2017

Slow start today...
I wanted to finalise wallpaper designs- this took longer than planned as I ended up changing designs- thinking about scribbles vs cut outs?

I also used the mover tool in ava to help clean up to begin with- overall had a better finish> i tried a different approach which had an overall cleaner simpler feel

I altered my colours by studying mid- century modern colours to inspire so i could combine with my existing palette. Using avocado, tangerine, granite grey, mustard and rich caramel hues.

I tried using less colours after colour speration > more commercial and simpler feel? the repeat isn't as obvious too?

Washed out my fabrics> still not 100% happy with them, think they need to be a little darker?? try tomorrow and create a piece I'm really happy with
-line in the background worked better? drawing straight onto fabric?

Tomorrow print off wallpapers at Guntons> print a length of fav wallpaper on monday? 3 metre???

Printing Again

May 09, 2017

Continuing on from yesterdays print, I added extra markings and bolder cut out shapes but now I am not sure if I have overworked this piece? 
I think once this has been washed I can decide whether to add to this or cover any areas up which look too cluttered? 


I experimented further with polychromatic today whilst using masking off techniques with paper stencils- layering this over the similar shaped cut out. I like this as this looks similar to some areas in my drawings which initially took inspiration from Atelier Bingos work. 


I also finished another piece today which was much simpler than the others, I felt that I kept repeating the other pieces and I wasn't too happy with them. Taking a different approach by drawing straight onto the fabric before I even started to print meant that I wasn't working onto a blank canvas and helped me decide where to place the shapes afterwards. 


Tomorrow I plan to finish off my wallpaper and try to complete my entry for the direct blind competition. After doing some more research- which i decided was needed after the crit yesterday- I am feeling confident that this will help me make more appropriate choices for the wallpaper designs. 


I am pleased with what I have accomplished today as I aimed to get 1 and a half /2 done per day if I stayed 9am-9pm but I managed to double my expectations. I just need to insure I am not rushing them and ensuring that they are of high quality. I need to remind my self to reflect on the pieces I have done and ensure I pick out the positive areas and use that to create a new piece. I also need to remember to refer to my drawings and my inspiration boards. 


CRIT and PRINT

May 08, 2017

I came to the crit not 100% sure what I wanted to know or gain from it- I feel like i am fairly on track and just need to finish off final fabric designs- decide on the wallpaper finals and put things in to context. I aim to get the work for the Direct Blinds competition finished this week too.


The crit was helpful- more so for listening to others work and advice from Nick and other peers. This made me think about how things should be displayed (creatively) and that the context can be just INTERIORS and not necessarily anything too specific. I also realised that I need to do some more market research and completely deciding on WHO my work is for not necessarily WHAT! 

As I am feeling indecisive about my many wallpaper designs I asked for some feedback and it was mentioned that I should maybe have less colours or change the background colour maybe?? I need to alter the neutrals to warm greys and do further colour research, looking at mid century modern and European manufacturers. I also need to be more mindful of how the shapes look and how they are placed next to one another. 

After discussing my potential decision of using a canvas/heavy fabric, I think I should continue to use the cotton satin/ twill and drill for now and potentially alter the material if it suits the context or improves quality (maybe for degree show?) As I am thinking of my main context to be for bedding then the fabric needs to be suitable or I need to have a suggestion of the correct, appropriate fabric. 

After reflecting on the large printed piece from Friday- I have completed (almost) two more today (2nd one in progress- still taped down on the print table ready to be added to tomorrow). I feel like I have loosened up now and am really starting to enjoy it. I am trying to be conscious about the placement of the shapes and markings, also making sure that I take more care when printing and making sure the screen is masked off in the appropriate areas and that the screen is flat and held down firmly. 

I felt confident today to draw on the fabric free hand, with a lumber crayon and I am quite happy with how this works and sits on the fabric- I tested this previously and it faded slightly through the washing process but I am hoping that it still stays on this piece after vigorous washing.  If not I would be able to add to it after it has been washed. I like how this gives me the freedom to disrupt and break up areas without having to reuse the same line from a screen but also keeping the oil pastel/graphite texture to the line. 

Today I also had a mini brainwave and wondered why I had not thought of it sooner- polychromatic printing! I was thinking about how I could get bold painterly marks on my work-  translated from my drawings. I thought about painting directly onto the fabric but then remembered this technique- I tried it out and it worked quite well, I need to keep in mind that it prints much lighter than it dries and also all texture/paint strokes disappear but the edges stay painterly. I tried this on my second print today (last photo) and I am pleased with it and am excited about how I could move this forward and try more colours and maybe work larger with this technique??? 


notes from before and after crit
 

trying polychromatic technique (left)


Weekend reflection & planning

May 07, 2017

trend concept boards- final boards


wish i did this sooner to help me focus more? but sometimes it is helpful to not restrict your self when making work and to just make and see where the work takes you.

working back into project 1> grid structures inspired by signage and street art
using what I have learnt throughout to improve these and develop them> should I have these as final designs with context? - fashion? fashion illustrations for these> portfolio


Must think about blind competition!!!


Successful Printing

May 05, 2017

Today I have printed some neutral backgrounds and added to a couple of my prints. After realising I should just squegee the dye straight onto the fabric it has helped me create a much more successful shade!


Productive Printing

May 04, 2017

In comparison to yesterday, today was a success! I managed to clean up/ neaten up my wallpaper designs in AVA whilst I was waiting for the print room to free up. I also created more designs as I wasn't 100% sure on some compositions and I still need to fully decide on the colour ways and designs- I colour separated all the successful ones and am trying to understand what makes these successful. I am finding it hard to visualise them in a much larger scale.

Adding some more line and hand drawn aspects into the wallpaper designs has helped it flow a bit more and cover the design evenly so that the design doesn't look as disjointed and as if it's "floating".

By tomorrow evening I am going to have my wallpaper designs finalised and hopefully sent off to be printed over in Guntons on the large format printer.
I aim to have 4 final designs- this includes the 2 that I will submit for two categories for the Idott competition.

design with added lines and markings- behind 

Repeating in length only.
This would be  approx 1.5 m. I am unsure if this is too small- or if i should alter the large coloured shapes  so that the repeat is more subtle? 


I applied my three neutrals to the 1 metre pieces of cotton this evening and I now have 5 pieces that are ready to be printed on tomorrow and next week.  I used the new screen that I created yesterday to add some pale background textures and details- over laying the pale colours over the other pale colours created an interesting tonal effect which should work well once I add darker colours and larger shapes and lines.

I came across a few issues yesterday and still encountered some today but overcame them by taking my time and not rushing and then making silly mistakes. Today I didn't use a screen to print not he background and this worked much better than yesterday. The open screen was blocked yesterday which gave me texture and marks on the fabric and also meant that the colour was much richer and deeper (which is not what I had planned). I had tested pulling these colours through the screen on a smaller scale as I knew that the shade would change by doing this- but I was happy with the results. I think that the change in shade occurred when I scaled up the dye recipe. Because I am using such a small amount of dye- normally about 0.01 grams of each colour per 200g, this means that the scales do not normally recognise the dye.  So when doubling/ tripling up the amounts of the dye, it wasn't accurate and then made the shade much darker.


NEW SCREEN!!

Pale background with initial pale markings as the background


SaveSave

Disaster Day

May 04, 2017

Today I have had an unproductive, unsuccessful day but I am trying not to let this dishearten me. When things aren’t going right i must try to stay positive and make use of my time as it is precious!

I also need to make now that i must learn  when to stop as this will make me understand how this affects the quality of my work.

Today I found out I have been selected for an application for TEXPRINT - this is a massive positive of today and has given me confidence and reassurance.


Careers

May 02, 2017

I am feeling much more positive after todays meeting with Nick about careers and my future. I have been updating my CV, website and gathering pieces for my digital portfolio as well as researching job roles to see what I would be more suitable for. I found many print design jobs which sounded good but I feel like maybe I would prefer to work for my self and have my own brand but I was unsure about this as I feel like it's hard to get your foot in the door and maybe I would need experience?? (or maybe this is good that I lack some experience?) Nick was encouraging and made me think of many opportunities- I am going to research art consultants and art agents whilst also researching designers/artists/ brands that I would love to work for, then work out how I could make that become a reality. I feel like having this meeting has made me research further and think about life after graduation, figuring out what I want from life and what kind of lifestyle I would like to lead. I want to think bigger and maybe look at jobs outside the UK, I want to travel after graduating so this might be a perfect opportunity??


Also, I need to think about who my audience is? What are the audiences of similar prints/ homewares? Where is this audience? How can I show that my work is suitable for many contexts?

This meeting has also made me think about how I could continue making work now which shows various skills that I have, meaning that I have a broad portfolio (for example using typography for degree show shop products to show that I can place type and using interesting and appropriate fonts for stationary brands). I also need to show that I am willing to learn new things and that I am a good and quick learner. I feel like I do learn things fairly fast and I can work on multiple projects on one go- as Ba3b has shown. 

I need to ensure that my website is more informative and professional and even have an option for people to buy. I also think I should look at other freelancers/artists/designers' websites to understand how to make it creative but easily accessible. 

Discussing my wallpaper made me realise that I need to think about what it looks like from far away- I think I need to alter the background in order for it to flow with the other shapes. I also need to clean up the edges now it has been printed out large, I feel like that if I didn't get them printed, I wouldn't see those small faults and also understand the scale and realise that the scale does work. 


website: ameliaellwooddesign.weebly.com

Website in progress

For the rest of this week I plan to complete a few more 1 metre prints for Project 3, Reassembled Space. Today I colour tested the pale background shades as I decided to not dye the cotton before hand any more and to just procion print as I am confident as achieving the right shades in this process. I feel that this is the most practical and efficient way of using my time and skills after trying out dyeing and being fairly unsuccessful with the pale neutral shades. 

in the process of colour testing for my background layer


BA3b

Fax paper drawing

April 30, 2017

After my tutorial with Nick I thought I would speak to Neil about fax paper drawing as I have been told he has done this previously. He gave me some fax paper and I have started drawing on it with a soldering iron, heated nails/screws and an iron. I thought that If I could heat up a variety of shapes I could build up a design on the thermal paper- I tried this with some left over wooden shapes (as they get super hot in the heat press and stay hot for a while) but this was unsuccessful. For the fax paper to react, it has to be ridiculously hot and the shapes were just not hot enough. I could possibly create some sort of resist or heat up other objects to transfer onto the paper??

I have experimented drawing from some primary images of walls and graffiti and am really impressed with the results. The roll of paper is quite slim so they dont seem big enough to be a "drawing" but I will convert these onto screens or scan them into use in my digital drawings. I really love how the marks made are unique and are markings that you cannot get with any other technique. I like how you can combine the materials used on the paper, for example I have used thick black markers as well as pencil, coloured posca pens and oil pastels.


Getting to grips with AVA

April 28, 2017

Today I have spent about 10 hours using AVA and creating my wallpaper designs which are suitable for the IDOTT competition and will also create a collection/body of work for a mini brief.
I feel that I spent a lot of time today just getting to grips with AVA and understanding what I wanted my wallpaper to look like.I feel that spending this time is valuable and helpful as It is a useful tool for the future.


Digital wallpaper designing

April 26, 2017

After yesterdays tutorial I felt positive to start designing my wallpaper digitally. Photographing my larger pieces with a DSLR meant that I could use my bigger drawings/wallpaper tests in my digital designs. I wanted to ensure that the texture remained as I feel that this is a strong part of my work which makes it successful. I aim to complete the wallpaper designs by Thursday evening or Friday morning so that I can hand them in to be printed on Friday. I aim to have a collection of wallpapers with potentially some complementary wallpapers or prints along side- not sure whether this would work? I think I will test some simpler, complementary prints to answer that question.

Todays Tutorial

April 25, 2017

There was various things to discuss with Nick today and I feel that it was really helpful and positive. For my wallpaper, I was unsure whether to hand print it after creating a kodatrace with he cut through, which would be time consuming. Or whether I should get it digitally printed over in Guntons. I was also unsure whether to choose the larger scale dimensions (180x120cm) and if i did- would i need the physical copy of the entry too? How would this work??? I have emailed them to see. I think continuing working to the 52x64cm dimensions is a good scale to work too anyway and it would work printing it digitally in Guntons on the 300gsm paper.


Cut through repeats with COLOUR!

April 24, 2017

I have been experimenting more with cut through repeats today so that I can complete this mini brief and competition entry by the end of the week. I want to be able to work back on to fabric and develop and create final designs (1 metre maybe?) so I am anxious to get this completed. Because I am not particularly confident and experienced in repeats, I am finding this slightly difficult. The scale and the size is unnerving me- I am finding it hard to understand and get my head around the IDOTT brief and its requirements.
I want to work large scale in the 52x64 cm dimensions but I find that I keep repeating myself in terms of size of shapes in these dimensions.
Today I used colour in my cut throughs to see if this could help. After colour testing for the morning with procion and pigment binders, I used paper stencils with open screens to build up a design of cut out shapes and markings.
Because I'm working on paper, the procion paste doesn't sit particularly well and tends to bubble up at the edges, meaning the shapes aren't crisp and sharp like they are in my drawings. Working with binder on paper sits better but it hasn't got the translucency like procion has. Overlaying the procion means I can create darker and lighter areas with the same colours.
When testing the colours, I tested them on paper as well as plain cotton so that I have the procion on cotton for potential future printing. The colour on paper turns out lighter than on the fabric, but when printed through the screen, the colour on paper is slightly darker than when just tested straight onto paper.
After initially wanting to use warm tones and colours that I have not necessarily used previously, I played around with colour combinations further and managed to create a fresh, in trend palette. I created lots of different colour combos yesterday but found that a lot of them felt too earthy and dull. I wanted to create something fresh and inviting which also came from some of my primary imagery. I finalised my colours with a dark navy, a royal blue/navy, a peach/light pink, a burnt orange rust OR a scarlet coral pink and a light grey. I think these colours can still be developed and potentially narrowed down so that there are more neutrals, meaning the palette is balanced and versatile.
I am ensure whether to translate these into kodatraces or digitally print them on to acetate to then put them onto screens and hand print. Or would it be easier and more time effective if I could just digitally print it onto wallpaper in Guntons?? This is something I will discuss with Nick tomorrow in my tutorial.


before cut through

after cut through

complete design


complete design

SaveSave

Creating colour ways

April 22, 2017

Using colours from emerging interior trends I have created various colour palettes for project #4 which will be used in my cut out style wallpaper and wall pieces. 

Various screen grabs from WGSN (below) have helped me understand the way to gather the colours into an appropriate and effective colour palette, using interesting tones and shades. Using limited brights and darks with complimenting neutrals. 
From the trends and my imagery from street art, I have used warm shades of yellow/reds and browns as well as some pinks and olive greens. I wanted to try and use colours that I hadn't used before in my other projects but are suitable for a large scale wallpaper.


Playing with cut-through repeats in the print room

April 20, 2017

In the print room today I used paper stencils to build up a design from previous drawings. I left space around the edges so that I can cut through to create a simple repeat. I filled in the space with more shapes and lines so that the design was balanced. I found that it was hard to tell how the repeat would look once it is put together. This is the first time I have created a physical repeat since the group project in 2nd year. I have just used from what I can remember of the cut through technique so I was remembering as I went along. 
I then photographed the repeat size (52x 64) and then put it onto photoshop to see how it repeated. Once it is repeated I can now see that there are some areas where you can notice the repeat quite obviously. I could next time use a half drop repeat instead to balance it out more? Or ensure that there aren't bold large shapes that are obvious and take up lot of space on the design so that it flows better. 


I still need to develop my colours for this wallpaper project (subtract and divide) but after analysing the trends as well as my photographs of urban features, I have found that I still want to use olive greens, teals and warm golden yellows and yellow tone pinks. This is also along side neutrals for the backgrounds as I have used previously too. 

Tomorrow I will colour test so that I have a my colours side by side so I can see them physically not just on a screen. Although I will be printing on wallpaper/ digitally printing I think I still will test using procion print paste as I can still print using these on to paper although these will not be opaque like the pigment binders I am also using. I find the pigment binder very difficult to get an accurate colour. 

BA3b

Idott Wallpaper thoughts & planning

April 19, 2017

Tomorrow I will be back in the print room and need to continue to plan and figure out how I could create a repeat length for my last project and the idott competition. I want it to be based upon the cut out, simple shapes and minimal lines, using various artists and trends to influence me. In a way this is a development of my previous work from the other projects but I am finding a way to be selective in the way that I work and work to a brief.

The brief asks for a repeat wallpaper 52 by 64 cm which has to repeat in both width and height. I want to create a large scale wall covering so that the repeat can be barely seeing in length. There is an option on the brief which says that you can opt for bigger dimensions- which may be a possibility for me.

I have already began creating compositions and drawing for this project (before easter) using lining paper to help me understand the width I am working to. Tomorrow I will continue to do this and consider options for scale.

I have quickly tried repeating my cut out shapes to see how they could flow together when repeating in width and length and I think this could work.

I am going to attempt to do similar designs using paper stencils tomorrow.


I still need to sort out colours for this project, by analysing interior trends and developing colours from my photographs of urban space. 

BA3b

Easter Planning & Organising

April 16, 2017


I have been organising and sorting out my multiple projects within this body of work. I aim to name each project and every final piece/design, meaning I have a narrative for my work, which will enable me to have a disccuion surrounding it. 

Project 1  look at bradford brief>  fresh/contemporary/ cecil touchon style/ signage/graphic structured/ cut up/ reassembled- fashion


cut up
graphic
signage
urban
slices
piece
segments 

graphic divisions
urban splices
dismantled signage 


urban deconstruction


project 2  look at SDC brief> sustainable/ digital/ scribbles/ assembling/ found objects - fashion


digital scribbles
digital markings 
disjoin 
eliminate 
discard


assemble
remove

digital assemblage 


project 3  look at bastford brief> nature/ large scale/ scribbles/ loose/ subtract- interior


reassemble 
subtract 
connect 
overlay 
urban vs nature 
greenery 

reassembled space
connected greenery 
reassembled greenery 


project 4  look at idott brief> cut outs/ wallpaper/ cut and paste/ shapes/ fun/ naive/ large scale/ wallpaper/ negative space/ abstract


cut out 
cut and paste
subtract 
divide
notch 
form 
unite 
assemble
remove

cut out forms

subtract and divide 

Using the competitions as projects has helped give me a focus as I find that I easily become unfocused and struggle often with the context. Assigning my projects with a mini brief or context direction has already helped me use my time efficiently.
I registered interest for Bishops arts prize, and need to ensure I make work relevant for this brief toe> time to think about that!

Bishops arts prize, reminding my self of the brief and my register of interest >

I have realised how much my work has moved forward since then. I have worked bigger, onto fabric, using procion and a combination of industry processes. I have mentioned my passion for working on unusual materials in my register of interest for the Bishops Arts Prize. Should I work onto wood? Would this broaden my portfolio and show my skills? Or should I stick with fabric I have already been working on as I have a limited amount of time?


My register of interest:

“ I am intrigued and eager about the possibilities that surround the theme, Glimpses of Glory. I find something glorious about my surroundings, so I use it as a starting point in my textiles practice. I am attracted to weathered surfaces and signage, as well as urban grids and shapes. This forms my abstract designs and ‘cut out’ style graphic prints. I experiment with ordinary materials, inviting brilliance to the surface by applying these marks and patterns to wood, papers and plastics. This wonderful project will allow me to ponder the beauty and joy of ordinary, unnoticed, everyday wonders.  “

cut out graphic prints
wood
unnoticed every day wonders
signage 


BA3b

DYEING & PRINTING

April 07, 2017

I feel that this week as been so successful for me- finally screen printing onto cotton (fairly large) has meant that I have found even more confidence in being bold with my shapes lines and colour choices. Using the screens has enabled me to turn my small A3/A2 drawings into larger, more design like pieces.

After this week- I have reflected on the pieces I have printed and realised that I need to start printing on to a coloured background- printing just onto white has been fairly difficult and has been limiting me. Having tried printing the background with procion- I have found that it has been a longer process in the long run as I have been using pigment as resit technique. The pigment does not penetrate the fabric where procion is sat underneath- I have been using this to my advantage to create some interesting marks and contrasting colours. Laying procion down before hand as a background would mean drying, steaming, washing and drying again before taping back down on the table again. I realised that dyeing my cotton beforehand in a pale neutral using direct dyes would be a more successful and time worthy process. 

Today I tested small swatches of cotton in various combinations of pale browns/taupes/greys. I realised how difficult it is to achieve pale shades. After finally getting 3 shades that I was almost happy with I thought that I would dye some larger pieces of cotton to test on monday to see how the procion sat on top of the colour. These pieces did come out slightly darker than I had hoped- which has made me realise that I need to keep an eye on the colour as it is on the hob. 


BA3b

FINALLY PRINTING BIG

March 30, 2017

Yesterday I finally worked larger in the print room. I decided to ease in gently and work on half a metre of cotton using procion and pigment binder. I found it difficult to be loose and experimental like I was in my drawings. I felt as if i was being too controlled and tight with the way i was laying colour down and making marks. This was because of the scale- working on a white blank canvas made things difficult for me initially. I soon loosened up though and painted pigment binder on the fabric in loose marks from my drawings along side the contrasting shapes. Once I had finished I realised that there was too much white and even though this was similar too the drawings, this was emphasised because of the increase in scale. I also reasoned that i probably needed to increase the size of the shapes and marks so they are more varied in my print. I need to be more daring and less precious next time.


Today I coloured tested further as i wasn't completely happy with my chosen colours from last night. This wasn't entirely successful as i ran out of time and i ended up with a few spillages. This evening I decided to try dyeing some cotton so that the white wasn't as prominent. I aimed for a warm taupe shade and after a few testers I dyed a whole metre of fabric. This wasn't particularly successful either but I felt as if i learnt a lot from it. The colour didn't come out how I aimed- it was much paler than I hoped and there were some marks on the fabric from the bucket. Luckily this can be covered when I come to printing.

I feel like this week has been a real learning experience for me as I have been in regularly and using the print room - creating new work and reflecting on this and working out how I can improve things. Positive feedback from Nick on tuesday has encouraged and reassured me.